
Hi Nibblers!
Can you believe it? Easter is already here! How quickly has the year gone by? It feels like only yesterday that I was putting up the Christmas tree and opening gifts. I was perusing my instagram feed as I usually do in the morning and found an array of amazing Easter desserts. Cute bunny cupcakes, cake pops and Easter eggs galore – I love it all. I wanted to make something simple so I could focus on the artsy bit of the recipe. It definitely took a good chunk of my afternoon but the end result is too adorable to handle so it’s all worth it.
How To: Rocky Road Bunny Pops (Easter Special)

 What you’ll need:
Makes roughly 24 bunny pops
– 8 paper plates
– Sticky tape
– Scissors
– Paddle Pop sticks
– 200g roast hazelnut milk chocolate block
– 200g almond chocolate block
 – 200g dark chocolate block
– 1/2 cup desiccated coconut
– 250g marshmallows (quartered)
– An extra 20 marshmallows (roughly 100g)
– 150g Jubes (halved)
– 600g white chocolate buttons
– A handful of chocolate buttons for bunny’s eyes
 – One pink marshmallow cut into small pieces for bunny’s nose (24 pieces)
– Black icing writing pen
Optional:
To help with drying process / display, pierce 1cm cuts into a styrofoam board to place bunny pops into to dry. If you can only find styrofoam balls, use masking tape to tape balls side by side to make a rectangular board for bunny pops to sit in
How To:
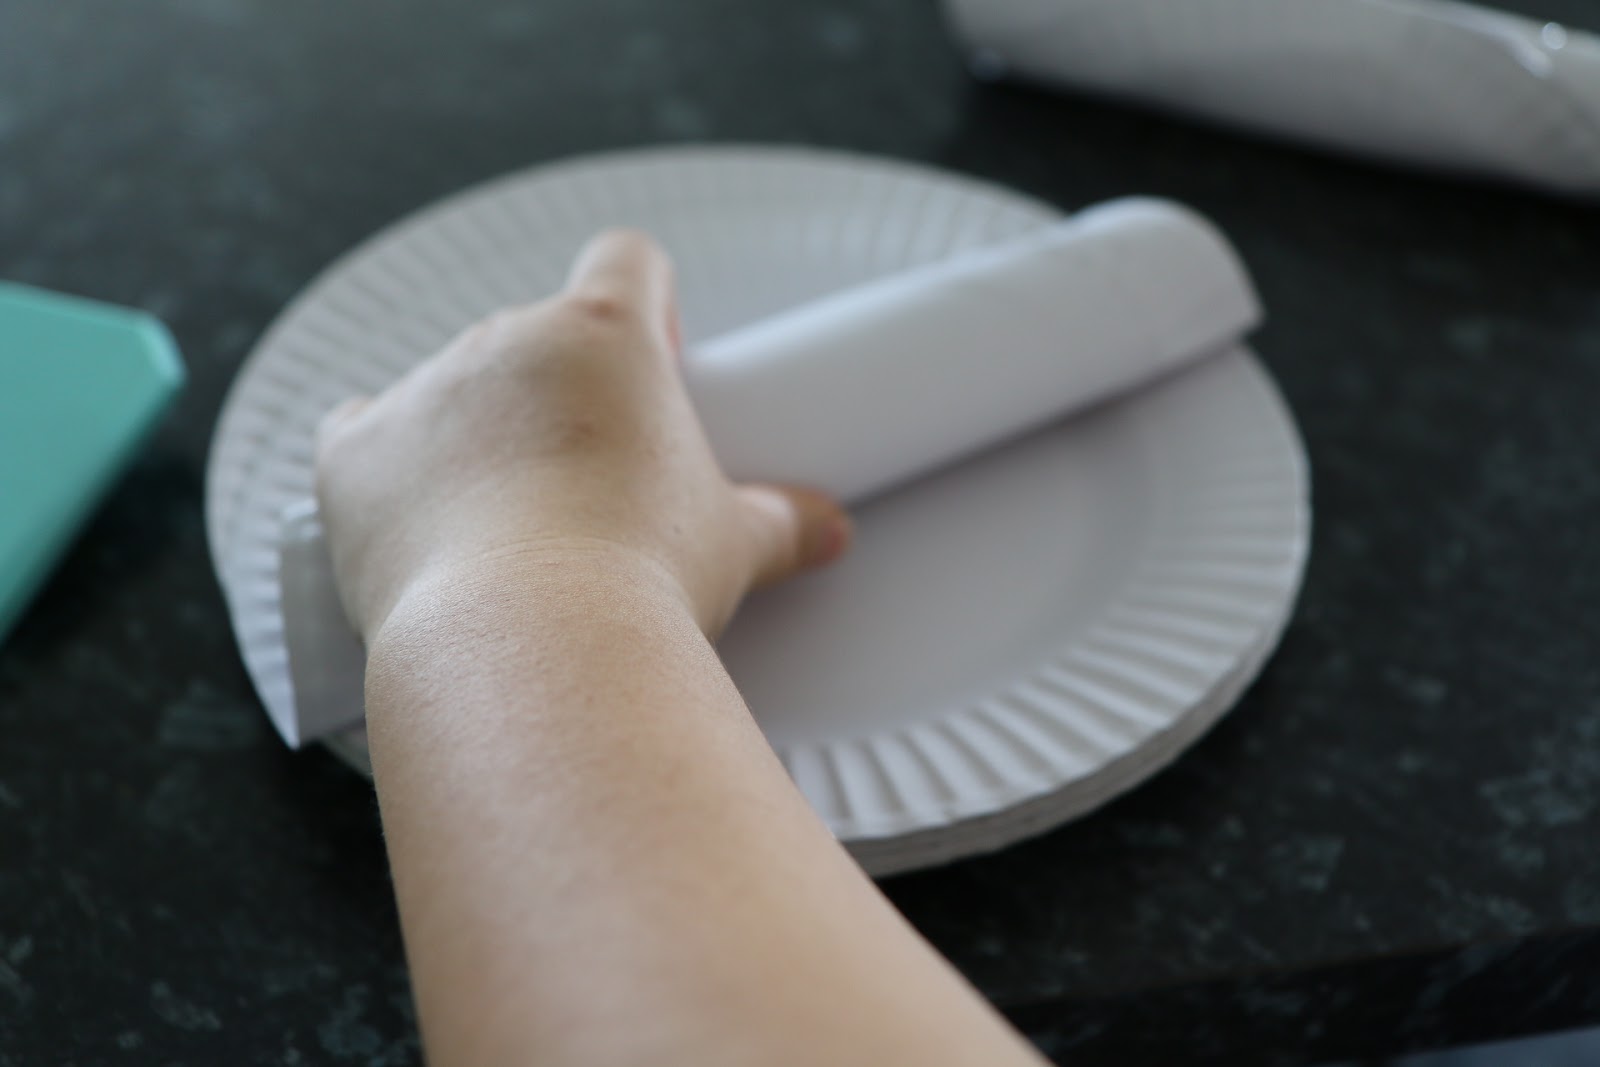
 1. Roll paper plates into a cylinder with a diameter of roughly 3cm then tape together
2. Cut cylinders into three equal rolls then tape one end to close the cylinder roll then set aside until needed
3. Mix quartered marshmallows, jubes, and coconut into a bowl then set aside
4. In the microwave or over a double boiler, melt hazelnut, almond and dark chocolate blocks together until smooth and creamy
 5. Add melted chocolate over the sweets bowl and mix until well combined
6. Divide evenly in between each cylinder then pop into fridge to set for at least 3 hours (Pop paddle pop sticks into the middle of each chocholate cylinder approximately an hour through setting process)
7. In the microwave or over a double boiler, melt white chocolate until smooth then remove from heat
 8. Remove paper from chocolate moulds then dip one half of a marshmallow into white chocolate then stick marshmallow to the top left of the cylinder chocolate pieces
9. Repeat step 8 and place halved marshmallows to the top right
10. Repeat steps 8 and 9 until all chocolate cylinders have bunny ears then place into the fridge to set for ten minutes
11. Dip all bunny heads into white chocolate one at a time until well coated then quickly pop two chocolate buttons to act as the bunny’s eyes and a small marshmallow piece directly underneath and in the centre for bunny’s nose then set aside to set in fridge for 10 minutes
12. Once dry, draw whiskers and mouth onto bunny’s face then enjoy!
 |
| Ready to set! |
 |
| All set 🙂 |

I love the way these pops turned out. Deliciously chocolate centres and super cute for any occasion. These were a great hit at work so definitely give this one a go. Hope you’re all having a lovely day and enjoy the rest of the Easter weekend.
 |
| NOM NOM! |
Nibble Away,
Jo

Excellent and very creative, Joanne. Well done!
LikeLike
Thank you! Much appreciated and thanks for swinging by the blog to comment 🙂
LikeLike